Learning how to install Google Tag Manager in your SuiteCommerce Advanced site is the first step towards understanding who your customers are, what they want to see, and how they behave on your website.
There are two main ways of doing this, depending on the SuiteCommerce version on which your site is running.
Both guides are available on the SuiteCommerce developers portal, a page where NetSuite offers free resources, guides, workarounds, and troubleshoot material.
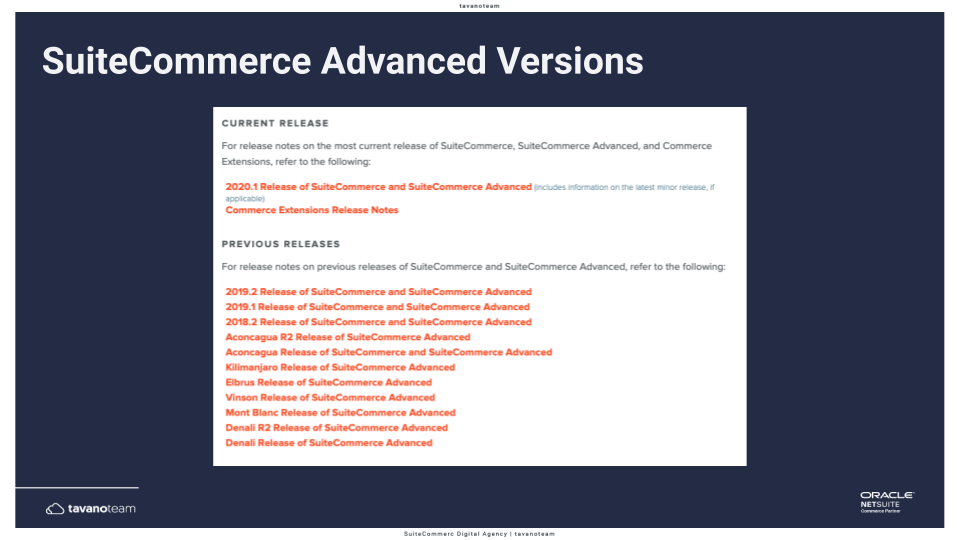
Here is a list of the SuiteCommerce Advanced versions. The oldest version is Denali, and the latest one is 2020.1 (NetSuite 2020.2 is coming soon!). Let’s go ahead and get started with the Aconcagua version and earlier.
In this post, we will focus on SuiteCommerce versions Aconcagua or earlier.

To install Google Tag Manager (GTM) in SuiteCommerce Advanced (Aconcagua or earlier), you should follow these four steps:
1. Sign up for Google Tag Manager.
2. Add Google Tag Manager ID to the Configuration Record
3. Create a JSON file through the Google Tag Manager container generator, and finally,
4. Import the JSON file to Google Tag Manager.
Log in to your Google account, go to Google Tag Manager, and create an account. This pretty straightforward.
Write down these parameters; you’ll need them later: the Account ID (from the URL), the container ID, and the Google Tag Manager ID. We will use these variables later. After you finish, your page will look like this.
To add your Google Tag Manager ID to the Configuration Record, go to your NetSuite Admin and go to Setup > SuiteCommerce Advanced > Configuration.
There is a field under the Integration tab and the Google Tag Manager subtab. Paste here your Google Tag Manager ID.
The third step is to create a JSON file using the Google Tag Manager Container Generator. On this page, NetSuite offers a way to create a file to upload to Google Tag Manager. It’s pretty easy.
You will need to add the variables from step 1: the Google Tag Manager Account ID and the Google Tag Manager container ID.
If you have Google AdWords, you can add the ConversionId and the ConversionLabel. The most important part here is the TrackingID, known as UA on Google Analytics, and it’s the link between your Google Tag Manager and Google Analytics. The second most important is CrossDomains. Once you finish, download the JSON file.
For the last step, go to Google Tag Manager > Admin tab > Import Container, select “override” — if this is the first installation of Google Tag Manager, and finally, confirm. Your Google Tag Manager should look like this.
You will see some triggers, variables, and tags created on the account by default.
And with this, you’re done! You now learned the standard implementation of Google Tag Manager in a SuiteCommerce Advanced for Aconcagua and earlier versions.
You will see some triggers, variables, and tags created on the account by default.
And with this, you’re done! You now learned the standard implementation of Google Tag Manager in a SuiteCommerce Advanced for Aconcagua and earlier versions.
Watch the tutorial
I covered this information in our Google Analytics Configuration Secrets webinar, and the video below shows the tutorial for installing Google Tag Manager on SuiteCommerce Advanced.
If you have questions about Google Tag Manager installation, or if you want to improve your Google Analytics game in your SuiteCommerce Advanced website, drop us a line!
In an era where digital transformation drives competitive advantage, integrating artificial intelligence (AI) with NetSuite… Read More
And surely no one told you about. Enjoy the following lorem ipsum that I'm going… Read More
Upgrading your eCommerce UX is a great way to refresh your site without too much… Read More
Growth hacking? You read that right. Follow these tips and your eCommerce will soon be… Read More
Using FAQs to boost product sales is easier than you think! Use them to help… Read More