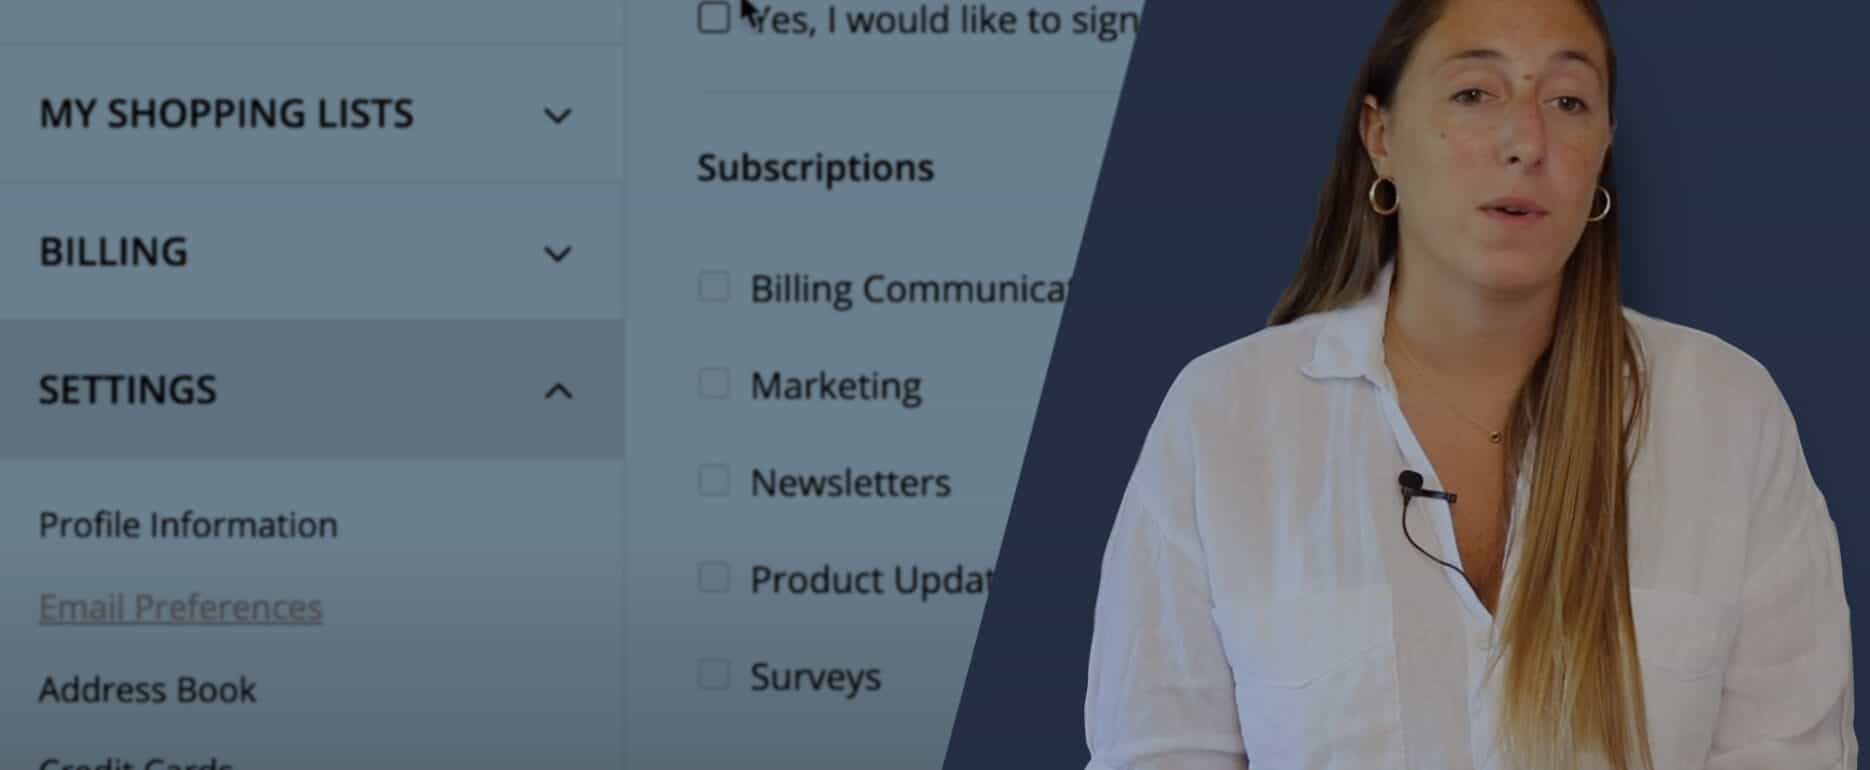
Wondering how to set up the Newsletter Sign up in SuiteCommerce? What happens when someone signs up for a Newsletter? How can you change the Email preference subscription lists? Keep reading! We’ve got you covered.
How to set up Newsletter Sign Up in SuiteCommerce: 3 subscription methods
When a visitor submits the newsletter sign-up form, NetSuite creates a new Lead record with its email address. There are three different methods for users to subscribe to your newsletter.
#1 Newsletter Sign-up Box
The first method, and easiest, is through the newsletter sign-up box. The Signup box appears by default on the footer of any SuiteCommerce website. But you can change it. Its function is pretty straightforward. The visitor writes their email address, clicks “subscribe” to confirm the action, and they will see a welcoming message.
If the user is already registered to your newsletter, they will see a message warning them that they’ve already signed up. But don’t worry, we’ll cover all subscription statuses and messages in just a minute.
#2 Registration Page
The second method is possible from the registration page and can only happen once. When the user registers for the first time, they will have to agree to receive offers and promotions.
#3 From My Account
The third, and more thorough method, is from the “My Account page.” To sign up for your newsletter, users should go to My Account > Settings > email preferences and check the Newsletter Subscription checkbox.
By default, they will subscribe to all of your company’s newsletters. But here, they can choose which of your newsletters they will want to subscribe to or unsubscribe. This is the only method that allows choosing newsletters individually.
In NetSuite’s UI: What happens once a user signs up for a Newsletter?
When a user signs up for a newsletter, SuiteCommerce will check for any existing Customer or Lead records that contain a matching address.
If the address already exists within a Customer or Lead record, SuiteCommerce checks the Global Subscription Status field’s value.
It’s important to understand that the preferred record is the Customer record. If both the Customer and Lead records contain a matching email address, SuiteCommerce will only update the Customer record. SuiteCommerce will update matching Lead records only if there are no Customer records.
Finally, if the user subscribes using the signup box and there is no previous record of their email address, they will be created as a new Lead record with the name Unknown.
What happens to the records according to subscription statuses
When sending newsletters, your company will need to check the Global Subscription Status field to determine if the customer has signed up for them or not.
These are the values you can set in the Global Subscription Status field:
- Soft Opt-In
- Soft Opt-Out
- Confirmed Opt-In
- Confirmed Opt-Out
Depending on the value of the Global Subscription Status field, these are the actions that SuiteCommerce will take and the messages it will show to the user upon sign up:
- If the value is Soft Opt-In, the Customer/Lead record does not change. The user will see a message confirming that their subscription is already active.
- If the value is Soft Opt-Out, SuiteCommerce C changes the status value in the Customer or Lead record to soft opt-in. A message informs the user that they have signed up for the newsletter.
- If the value is Confirmed Opt-In, the Customer/Lead record does not change. The user will see a message confirming that their subscription is already active.
- If the value is Confirmed Opt-Out, the Customer or Lead record does not change. A message informs the user that they cannot sign up for the newsletter.
How to change the email preference subscription lists
If you want to change the Email Preference Subscription lists, Go to Setup > Marketing > Setup Tasks > Campaign Subscriptions.
First, enter the name of the subscription category and a description. Then, check the Subscribed by Default box if you want new and existing records to subscribe to this campaign subscription.
In the External Name field, enter the name of this subscription category as you want it to appear in the Campaign Subscription Center. Next, in the External Description field, enter the description of this category that you want to show in the Campaign Subscription Center, and click Save.
And that’s it!
Visit our YouTube channel for more Unlocking SuiteCommerce videos, and make sure to subscribe to be notified as soon as new tutorials come out. In the meantime, schedule your free strategy call now and get started with flawless SuiteCommerce implementations!


